Christmas Cheese Ball
This is a simple cheese ball to make. I came up with this recipe several years ago when I had to take something to a Christmas party and wanted to do something a little different. You’d never guess it only has three ingredients (plus the almonds). It’s become a tradition for me to make one for my husband to take to his work and one for me to take to share with the staff at school. It’s always a hit. I’ve given this recipe to many people and no one can believe it’s so simple. Just the kind of recipe I like!
Ingredients:
For the size cheese ball pictured, use:
4 – 8 oz. packages of cream cheese, set out at room temperature to soften (or set out on counter to soften the night before, this will not hurt cream cheese)
2 cups shredded cheddar cheese
3/4 – 1 teaspoon dry Good Season’s Italian dressing mix
whole natural almonds (about 1/2 lb. for this size)
This makes a large cheese ball. If I were going to make it for home, I would cut the above amounts in half and it would still be plenty. The amounts given would be appropriate for a large number of people. It will keep well in the refrigerator, though the almonds do soften up after a day or two, but they’re still edible.
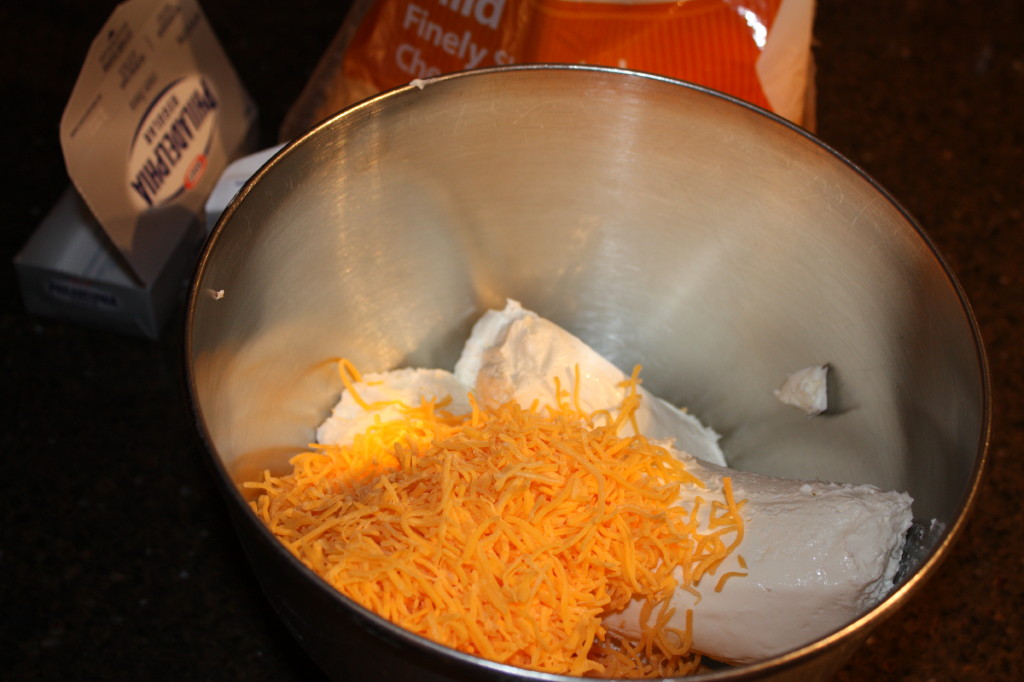
Place the softened cream cheese and shredded cheddar cheese into a large bowl.
Add the Good Seasons dressing mix.
Mix all together until well combined. A stand mixer with a paddle type blade works well if you have one. If not, you could mix it by hand, it’ll just take much longer.
When well combined, dump the mixture out onto wax paper to shape.
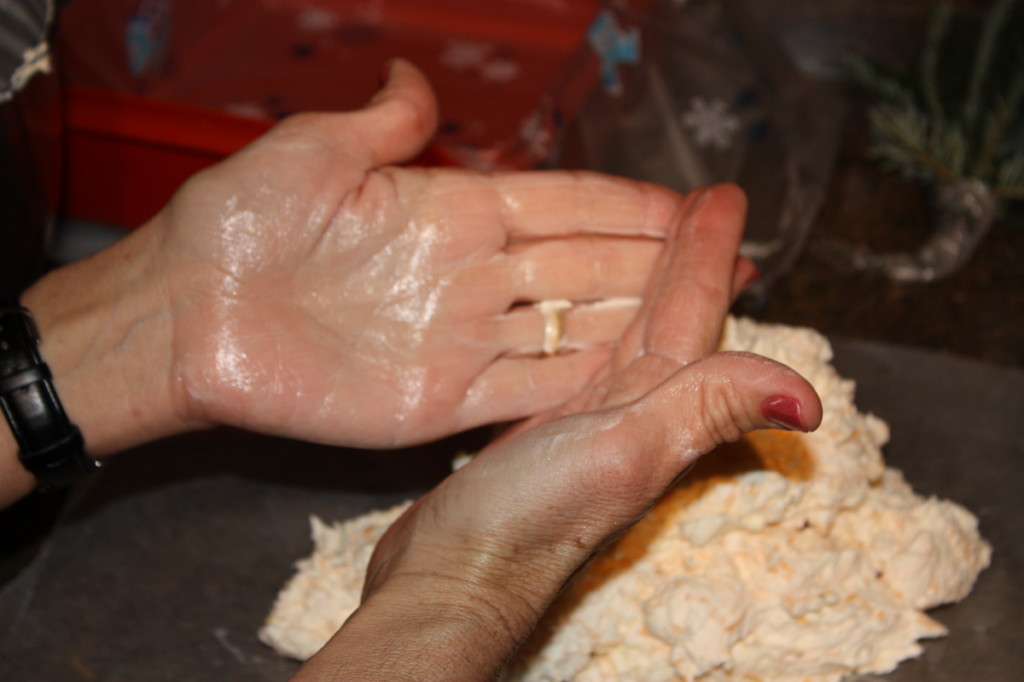
Rub a little butter or margarine on your hands to prevent the cheese ball from sticking and begin to pat into a pine cone shape with your hands.
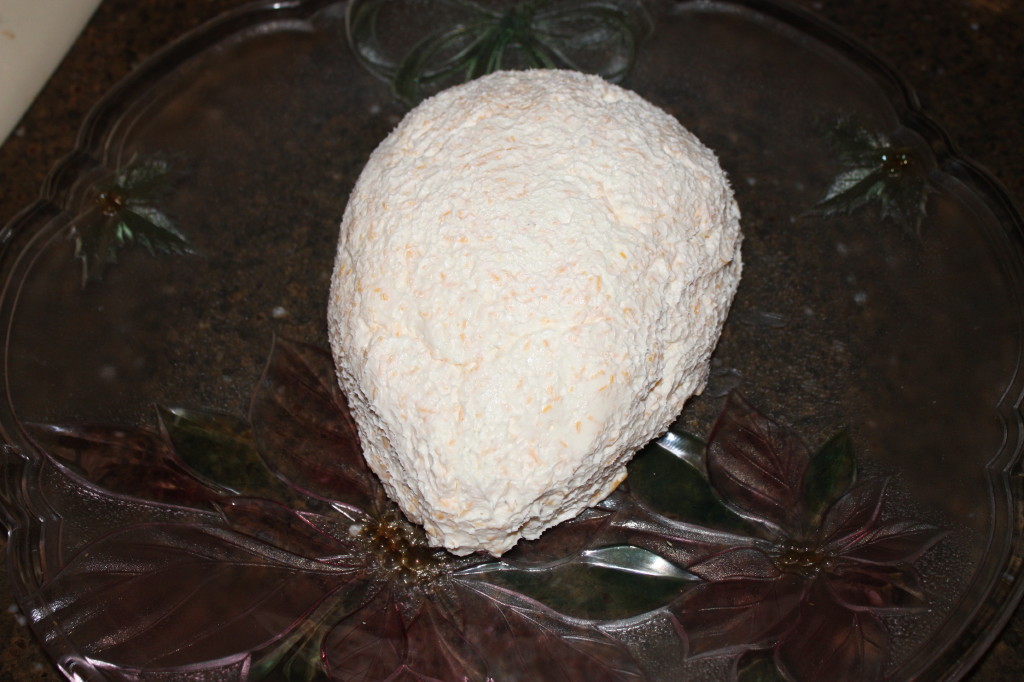
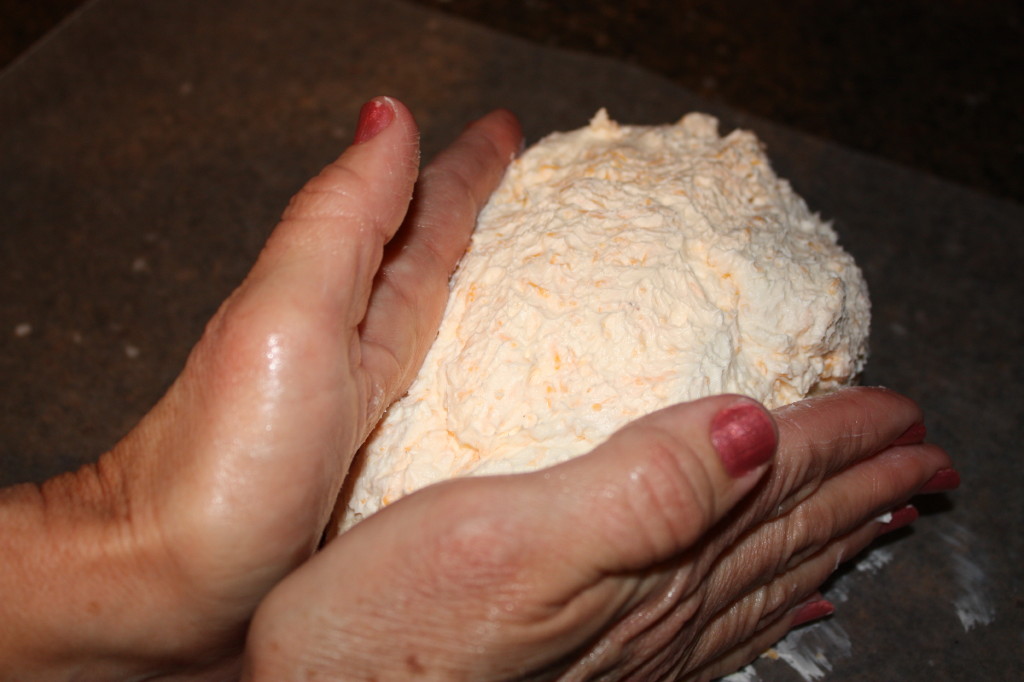 Once you are happy with the shape, transfer to a serving platter to finish.
You may have to shape it a little more after you transfer it because it’ll be a little soft, but it should hold the basic shape.
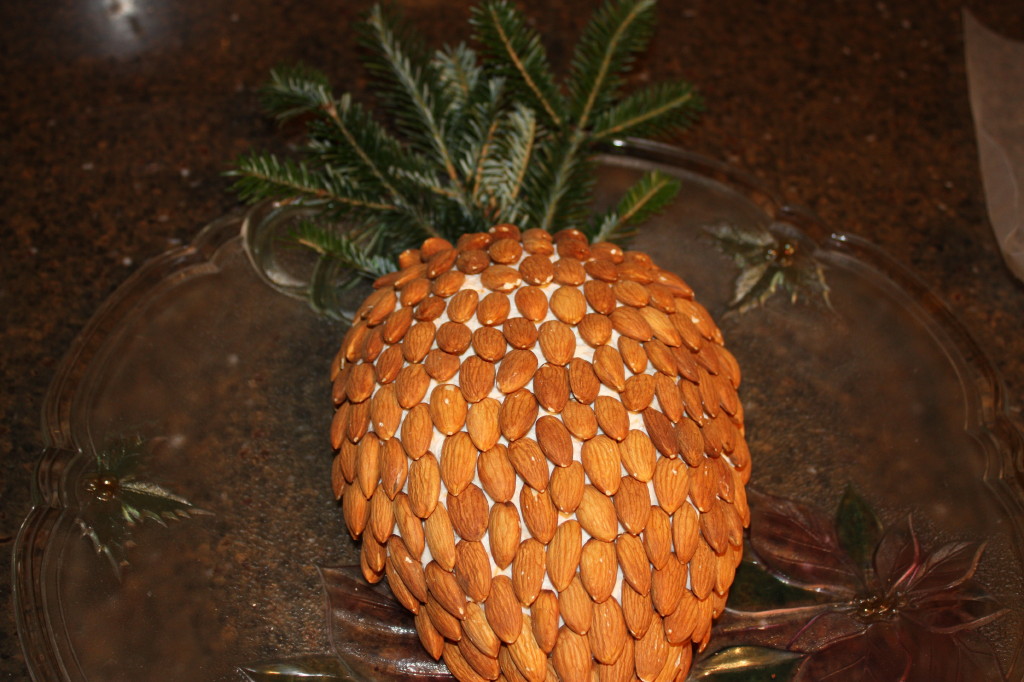
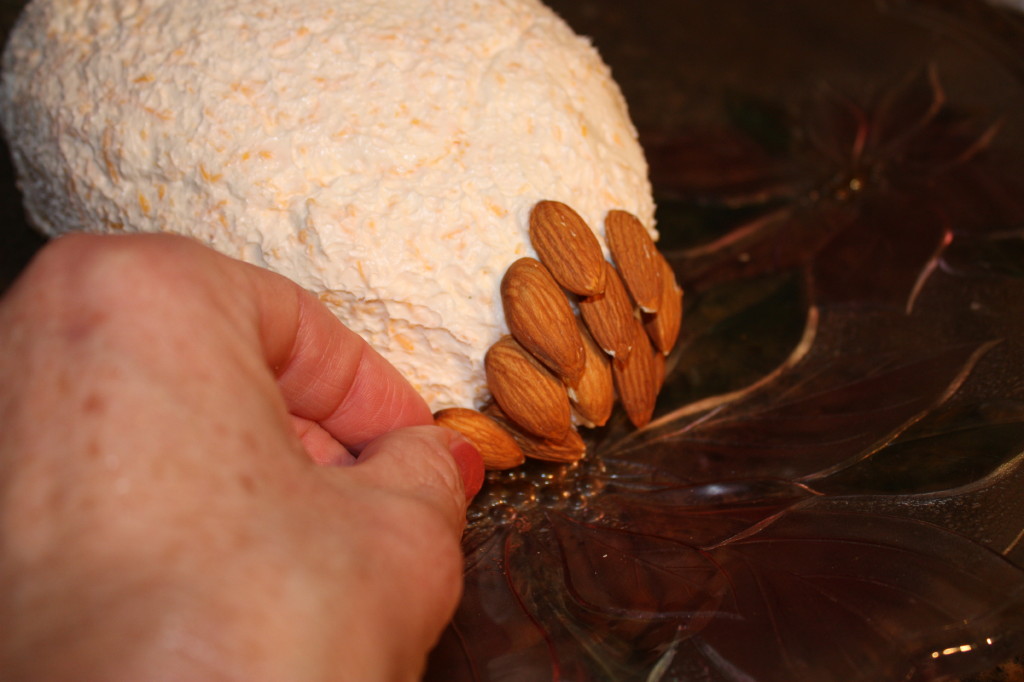
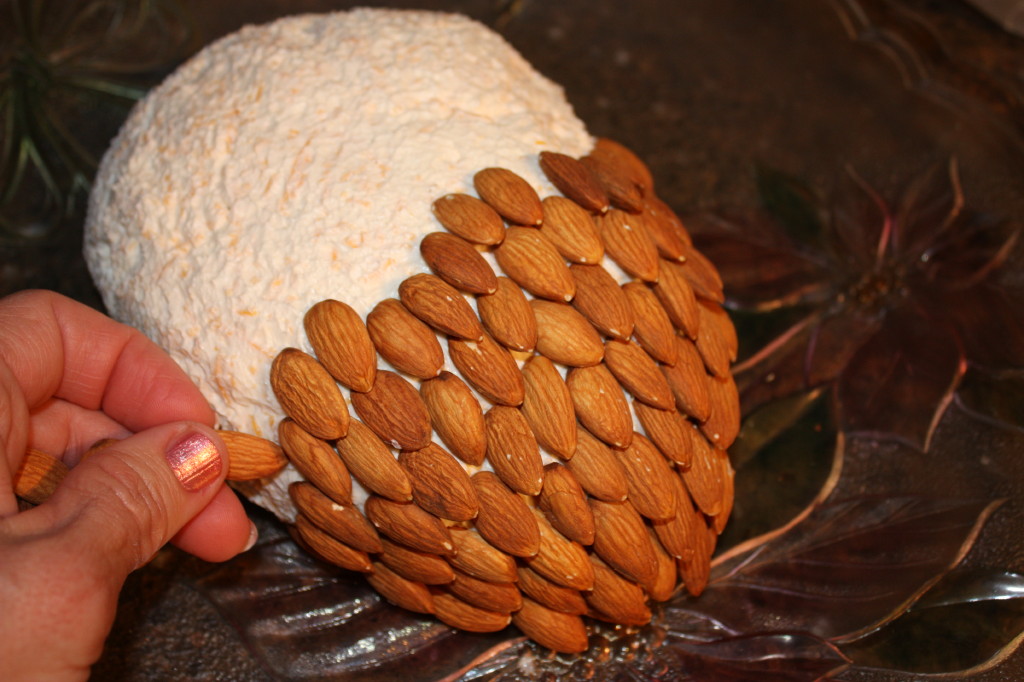
Next, you are ready to begin giving it the pine cone look. Start at the bottom and place whole almonds as shown, keeping all ends pointed in the same direction. For instance, the little pointed end of each almond needs to be pointed toward the bottom of the pine cone.
There’s no right or wrong way to do this, just start at the bottom and randomly place the almonds until you have the cheese ball completely covered. The important thing is to have all the almonds placed in the same direction for a more realistic appearance.
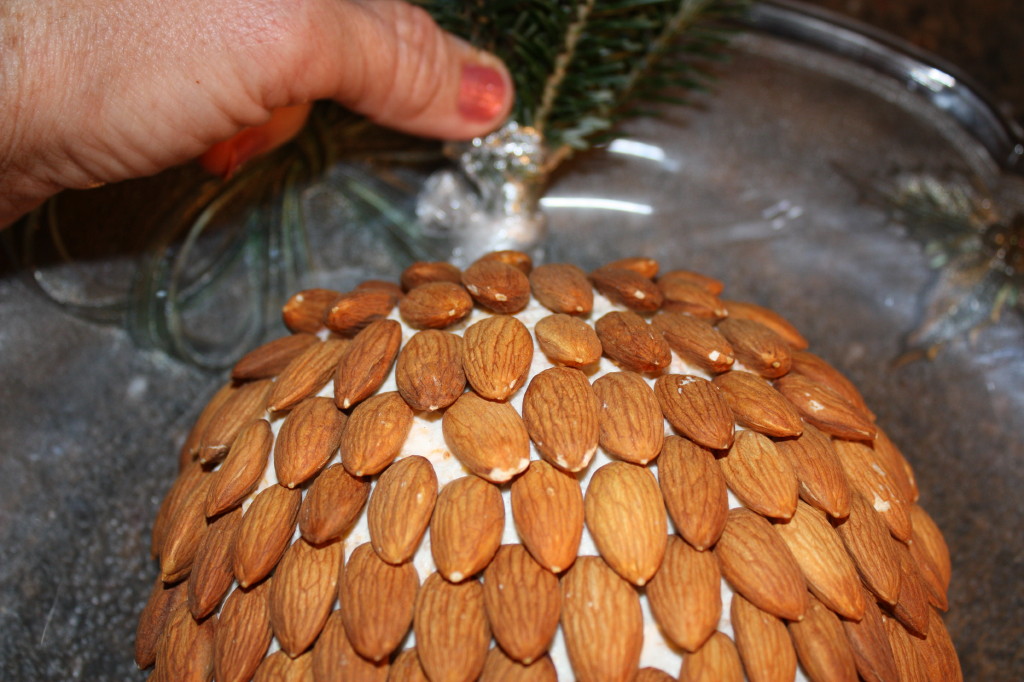
Keep working until you have it covered to the top.
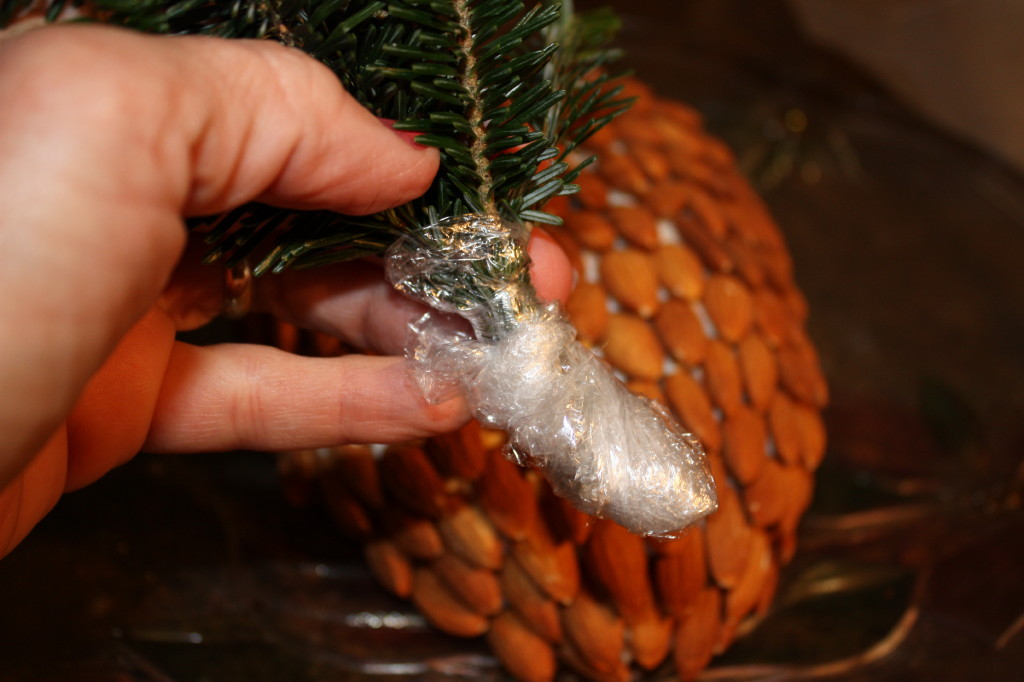
Once you’re done covering the cheese ball with almonds, you are ready to put in the evergreen branches. I use real branches. For this cheese ball, I used the tips of some lower branches we’d cut from our Christmas tree to make it fit in the tree stand. I’ve used cedar branches that I’ve gathered in the field and other evergreen or pine branches. I usually just clip the ends off of whatever evergreen is growing in the yard closest to the house! You just need the ends of the branches, about 8-10 inches in length or so, depending on the size of the cheese ball. I usually cut 3 or 4 to gather into a bundle to make it more full. Once you have them bunched together, wrap plastic wrap tightly around the ends so no sap will get into your cheese ball. It doesn’t matter what it looks like, it will be inserted into the cheese ball and no one will know if it’s wrapped neatly or not!
Insert the bundled branches into the top of the cheese ball far enough so that the plastic wrap is completely hidden.
Refrigerate until well chilled. When ready to serve, place crackers around the cheese ball and serve. Refrigerate left overs. The picture below was taken at school after some of the staff had sampled!
